1 Quick overview of Windows 10 Disk Management2 How to Shrink a partition and free disk space for new partitions3 How to create a new partition
Storage media such as hard disks or even USB sticks can be divided into several partitions if required and used under Windows as separate, so-called logical drives with their own drive letters. The main purpose of such separate logical drives is to use a dual-boot system on a single hard disk, for example with parallel installations of Windows 8 and Windows 10 or with Windows 10 and Linux. We will show you how to use disk management the right way. The most important thing first: Disk Management is no playground! If you act carelessly here, you could render your entire system unusable in the worst case – with a complete loss of your data. So before playing around with partitions, you should be aware of what you are doing. When in doubt, it’s better to seek advice from a computer expert than to get involved in disk management yourself.
Quick overview of Windows 10 Disk Management
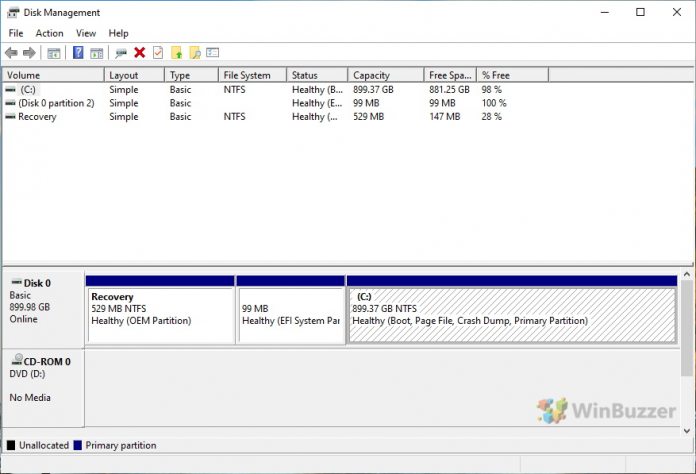
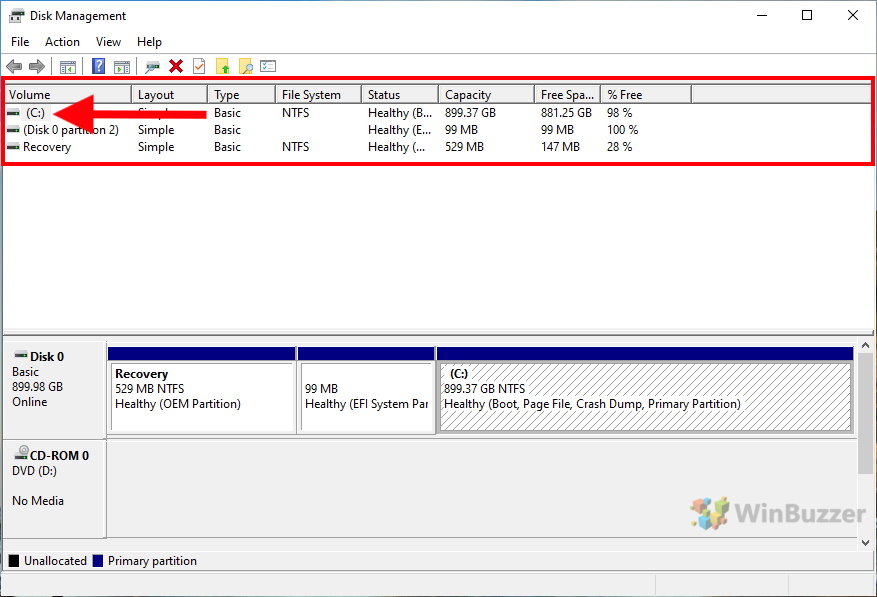
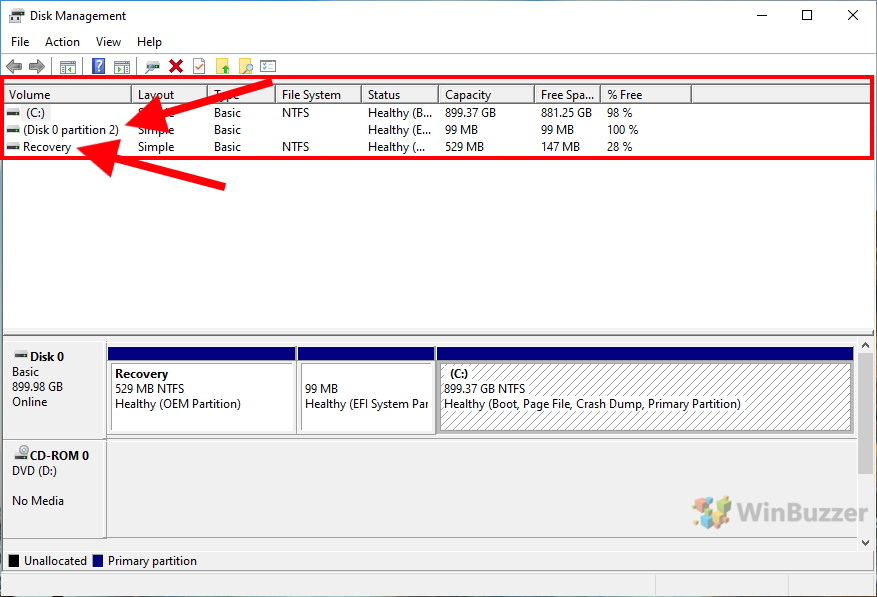
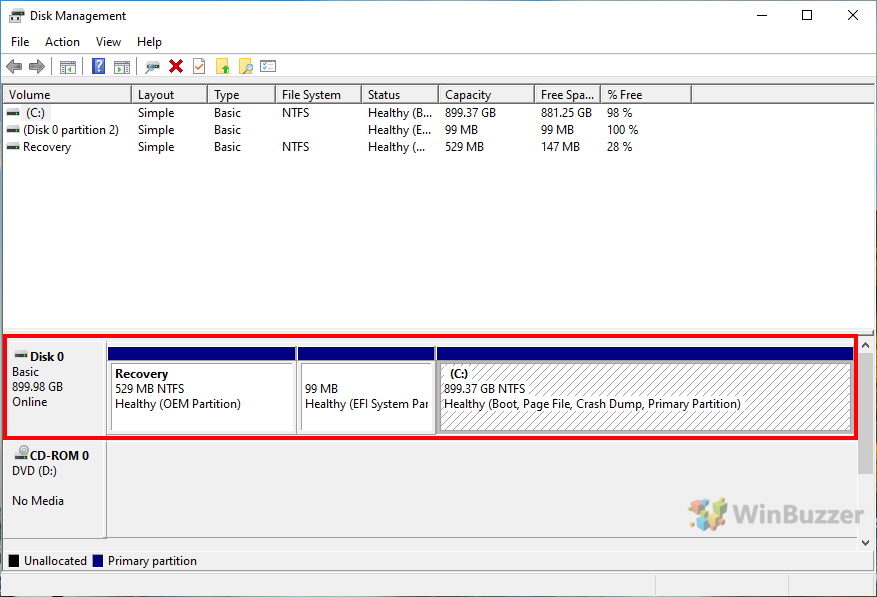
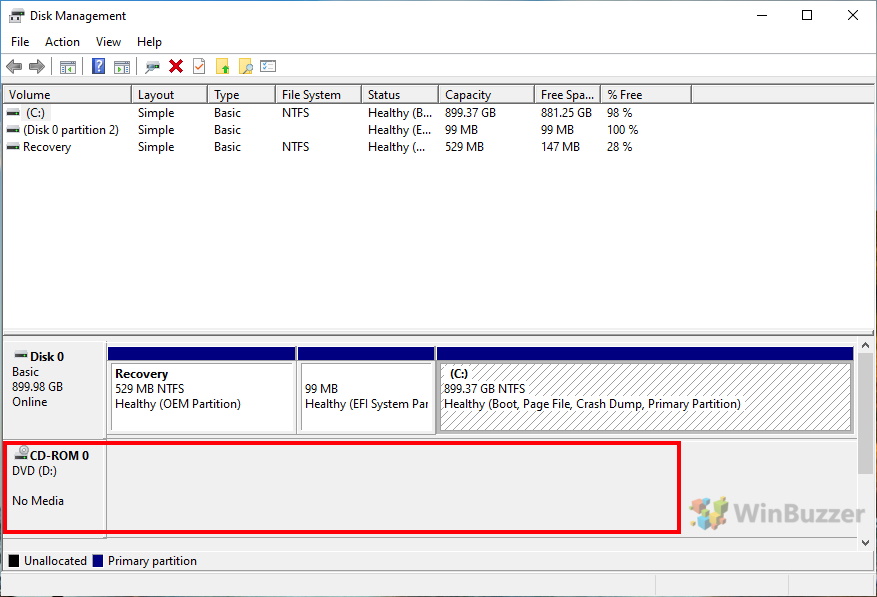
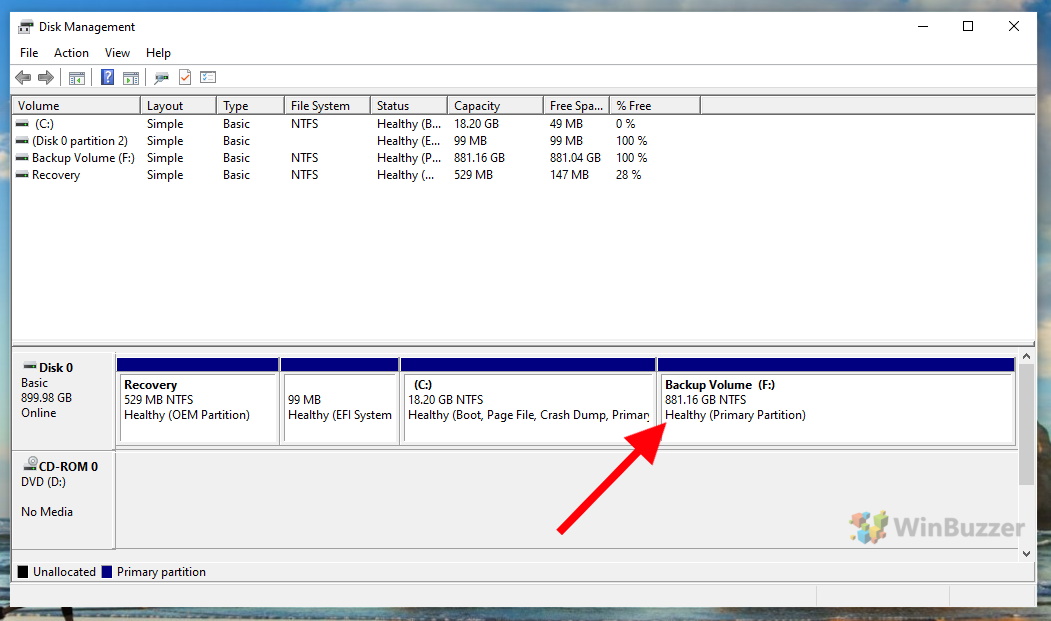
After a right click on the start button you can open “Disk Management” via the context menu. There you will see a list of all partitions of all available disks. You can recognize in Windows 10 visible and usable logical drives by the drive letterassigned to them. The partition where Windows is installed usually carries the drive letter “C:”. Other partitions without a drive letter are system partitions on which, for example, the Windows 10 boot manager and data for system recovery are stored. You can best see how your installed hard disks and other drives are partitioned in the graphical view shown below. A normally partitioned Windows 10 system drive holds the partitions “C” (system drive), “Recovery” (for restoring your system) and another tiny partition which ususally is called “Reserved”. Additionally installed hard disks without operating systems usually occupy the entire storage space with just one partition.
How to Shrink a partition and free disk space for new partitions
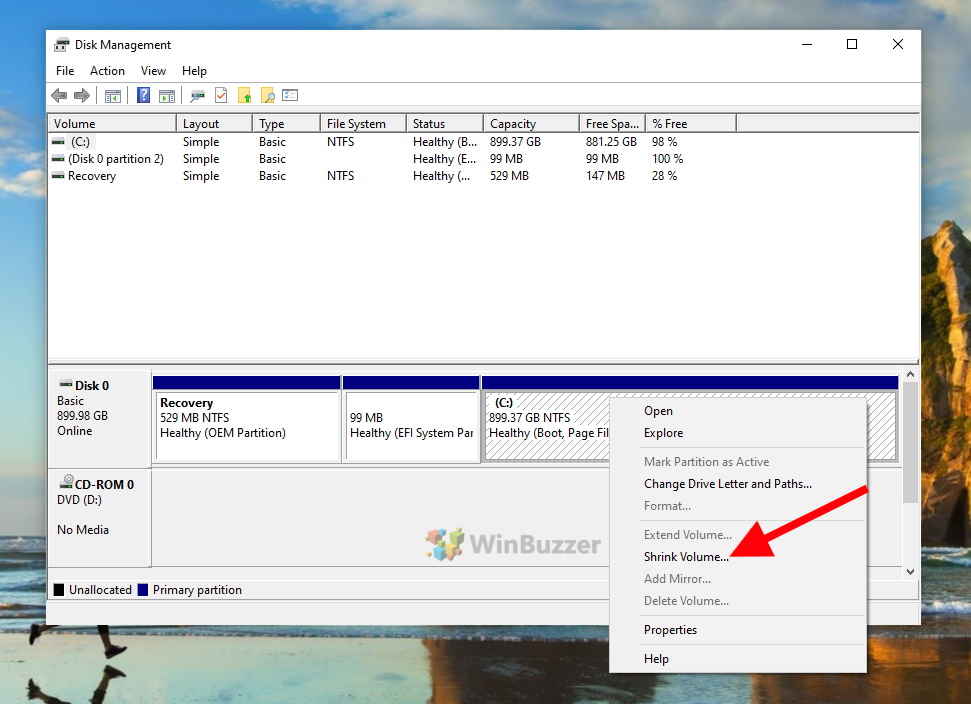
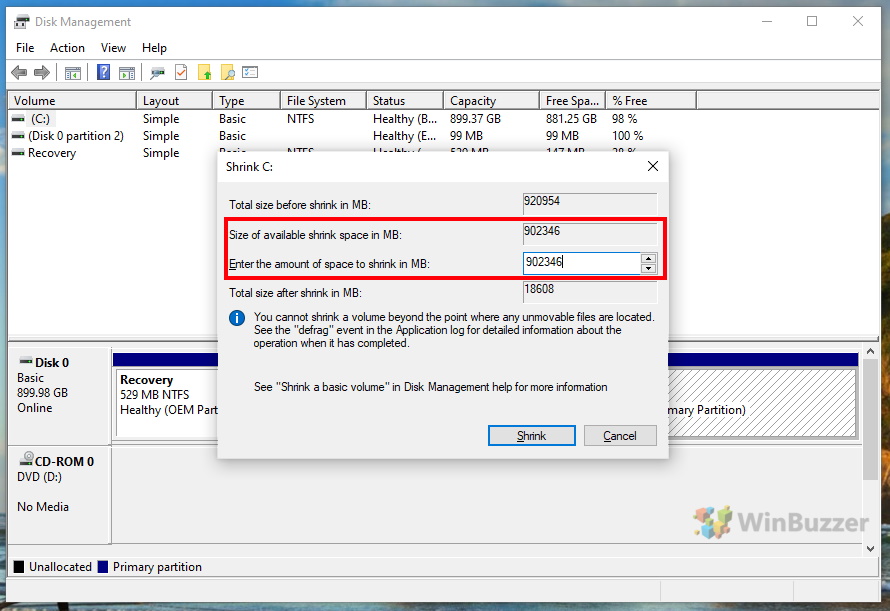
You can shrink partitions with assigned drive letters to a minimum of the data stored inside them. To do this, first right-click on the corresponding entry and select “Shrink Volume”. Afterwards, enter the number of megabytes you want to shrink the selected partition by in “Enter the amount of space to shrink in MB”. The maximum possible value can be found directly above at “Size of available shrink space”. With a click on “Shrink” you apply the setting. The liberated space is then displayed as a new block on the right side named “Unallocated”.
How to create a new partition
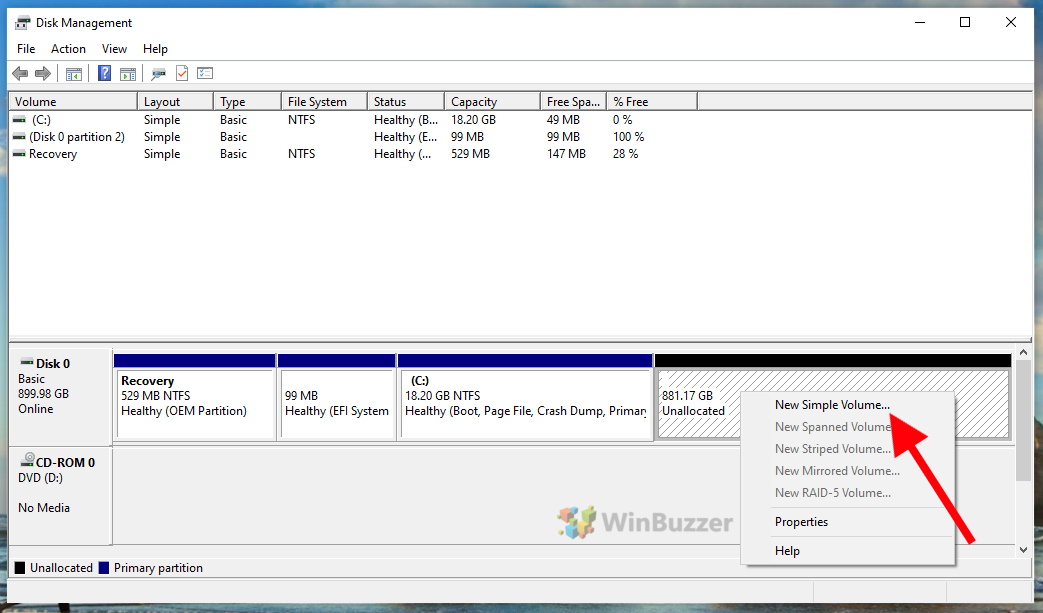
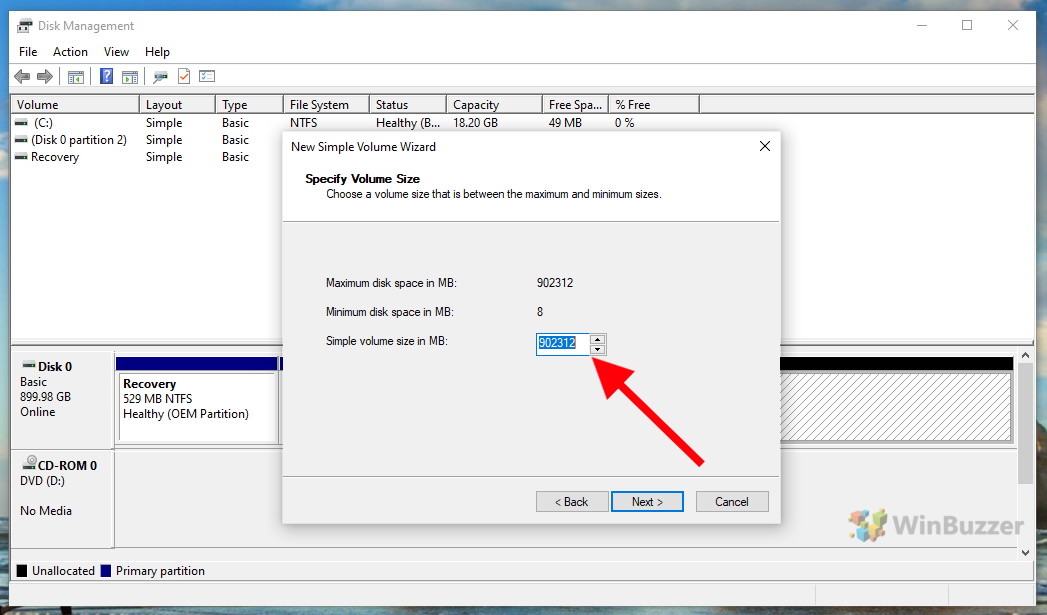
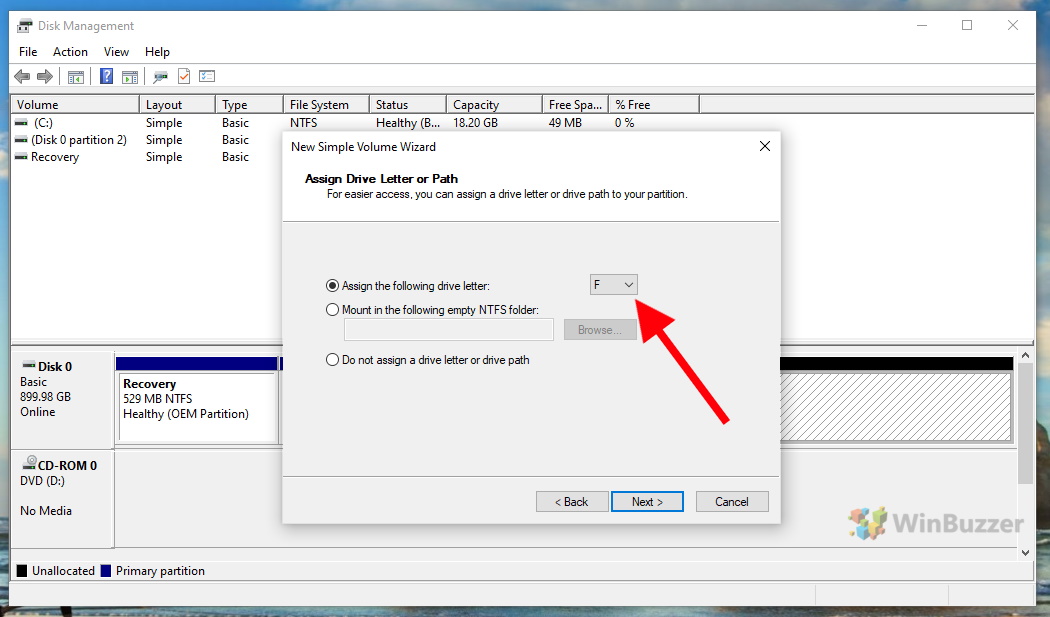
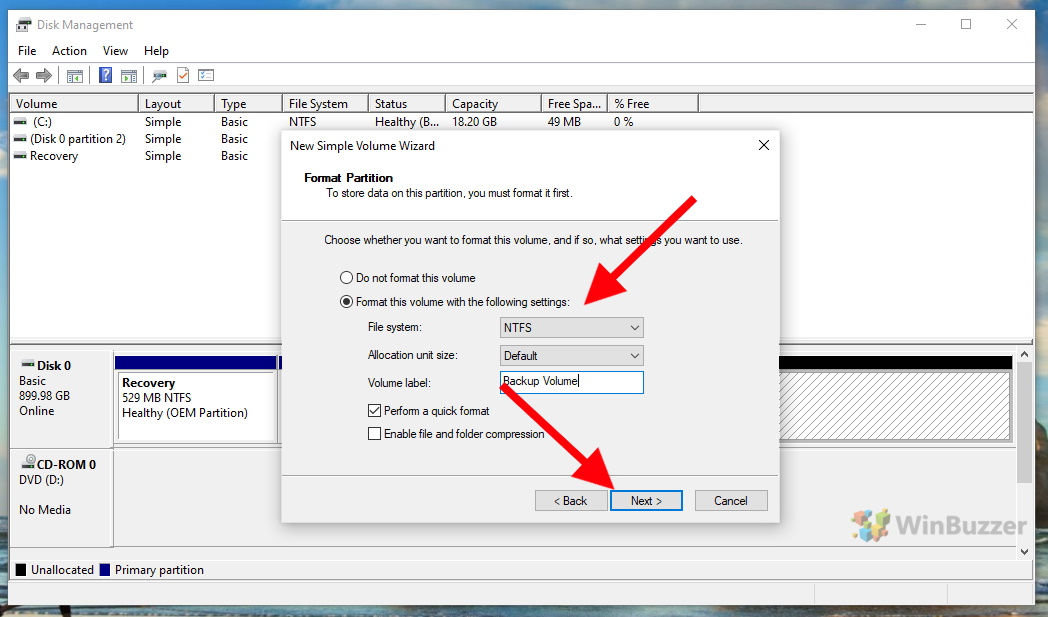
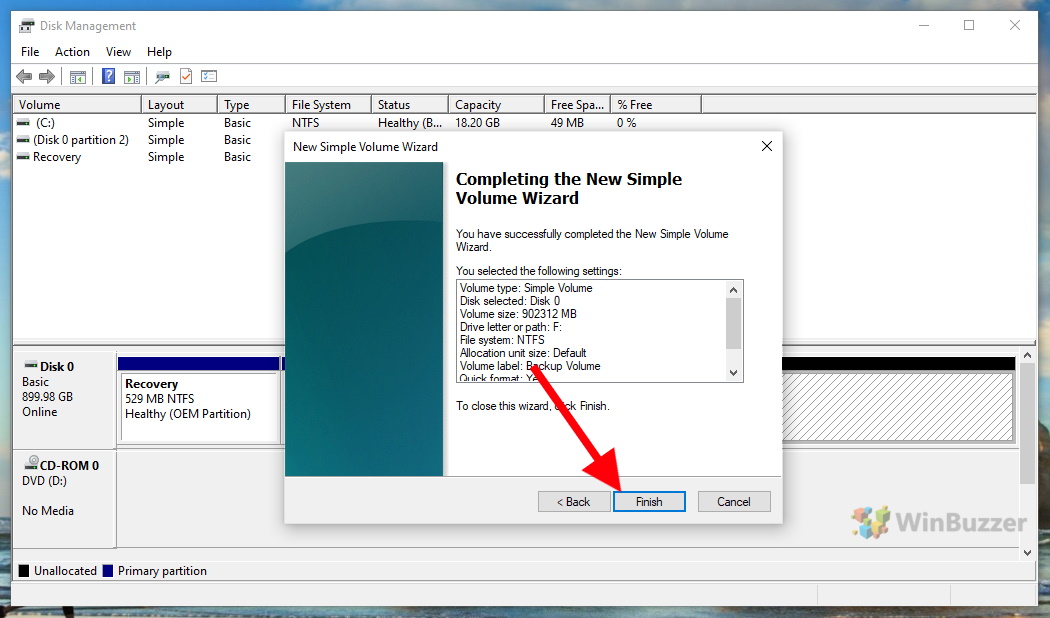
After a right-click on “Unallocated” space, you can create an additional partition via “New Simple Volume”. In the then shown wizard you start by clicking “Next”. Afterwards you have to select the desired size of the partition and click again “Next”. Then you can assign a drive letter to your newly created partition. This is necessary to make it visible as a drive in Windows 10´s file system. You then can format the new partition and give it a name. Finally, all chosen settings will be summarized for your security. Click “Finish” to apply them and your new partition is ready to use. Your new Windows 10 partition will then be displayed inside of Disk Management, Windows File Explorer and the rest of Windows where you can use it like any other drive.